We went to Custom Bilt Cabinets (CBC), ordered our 1/2 inch plywood, drew out our shapes and measurements, and left the rest to them. It was a little more expensive than we'd originally estimated. (I later realized that we'd gotten a luxurious kind of birch wood, and any old plywood would have worked since it would be covered anyways. But we should have asked before we ordered; lesson learned.) Still, it's so nice to work with the guys there, they're extremely competent and friendly and have done a terrific job on three projects I have entrusted to them. Plus, I had no desire to cut my own plywood; the outsourcer in me drew a line at that.
 http://custombiltcabinet.com/
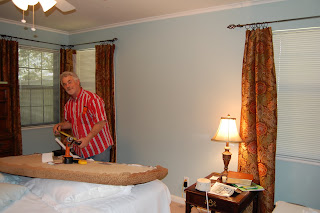
That afternoon, we returned to CBC to retrieve our headboards and unloaded them in my carport. We laid down the 2 inch foam we'd bought from Hobby Lobby (always print out their 40% off any regular item coupon because it can be expensive, ~$23 before the coupon) and then laid the headboard on top of that. We got a marker and outlined the headboard and cut the foam. We then layered some batting to hold it in place and put our desired fabric on top. We stapled until our hands hurt and this is what we got.


I have a terrific friend who is a remarkable handyman! Say hello, Wade!


No comments:
Post a Comment